In today’s content-driven world, videos are everywhere — YouTube, TikTok, Instagram, and even on blogs. But here’s the secret: you don’t have to be a professional filmmaker to create videos that stand out. Sometimes, it’s the small editing tricks that make the biggest impact. Whether you’re a beginner or just want to sharpen your editing game, this guide will walk you through simple video editing tricks that can instantly elevate your content.
Let’s dive in!
9 Video Editing Tricks
1. Cut Out the Fluff
One of the easiest ways to make your video instantly better? Trim it down.
Long pauses, repeated sentences, or unnecessary shots slow down your video and bore viewers. When editing, be ruthless. Cut anything that doesn’t move the story forward or add value.
Tip:
After your first edit, rewatch your video and ask, “Can this part be shorter?” If the answer is yes, trim it.
Example:
Imagine watching a cooking tutorial where the chef spends 2 minutes finding the right spoon. Fast-forwarding to the action (mixing the batter) keeps the audience engaged.
2. Use Jump Cuts Wisely
Jump cuts are simple edits where you cut between two parts of a continuous shot. They’re perfect for removing small mistakes, awkward pauses, or simply keeping the video moving fast.
How to use jump cuts:
-
Cut at natural pauses (like the end of a sentence).
-
Don’t make them too choppy — maintain a natural flow.
-
Add a slight zoom in/out between cuts to make the jump less noticeable.
When to avoid jump cuts:
If you’re creating cinematic or storytelling videos, too many jump cuts can feel jarring.
3. Add Smooth Transitions
Transitions guide your viewers from one scene to the next. They can be as simple as a fade to black or a cross-dissolve.
Best beginner transitions:
-
Fade In/Fade Out (for starting or ending videos)
-
Cross Dissolve (smoothly blends two clips)
-
Slide/Swipe (great for vlogs and travel videos)
Pro Tip:
Avoid using crazy or gimmicky transitions unless it matches your video style (like in a fun montage).
Less is more when it comes to transitions — keep it clean and subtle.
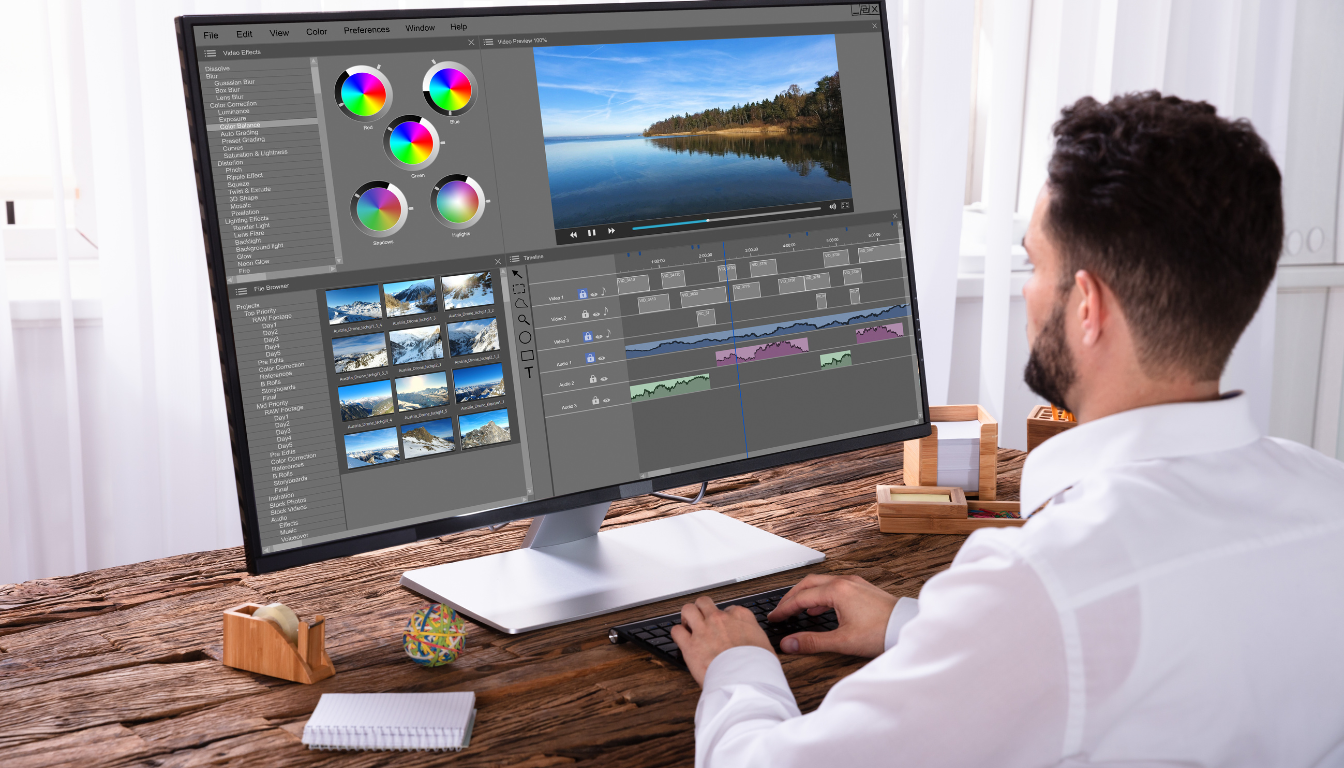
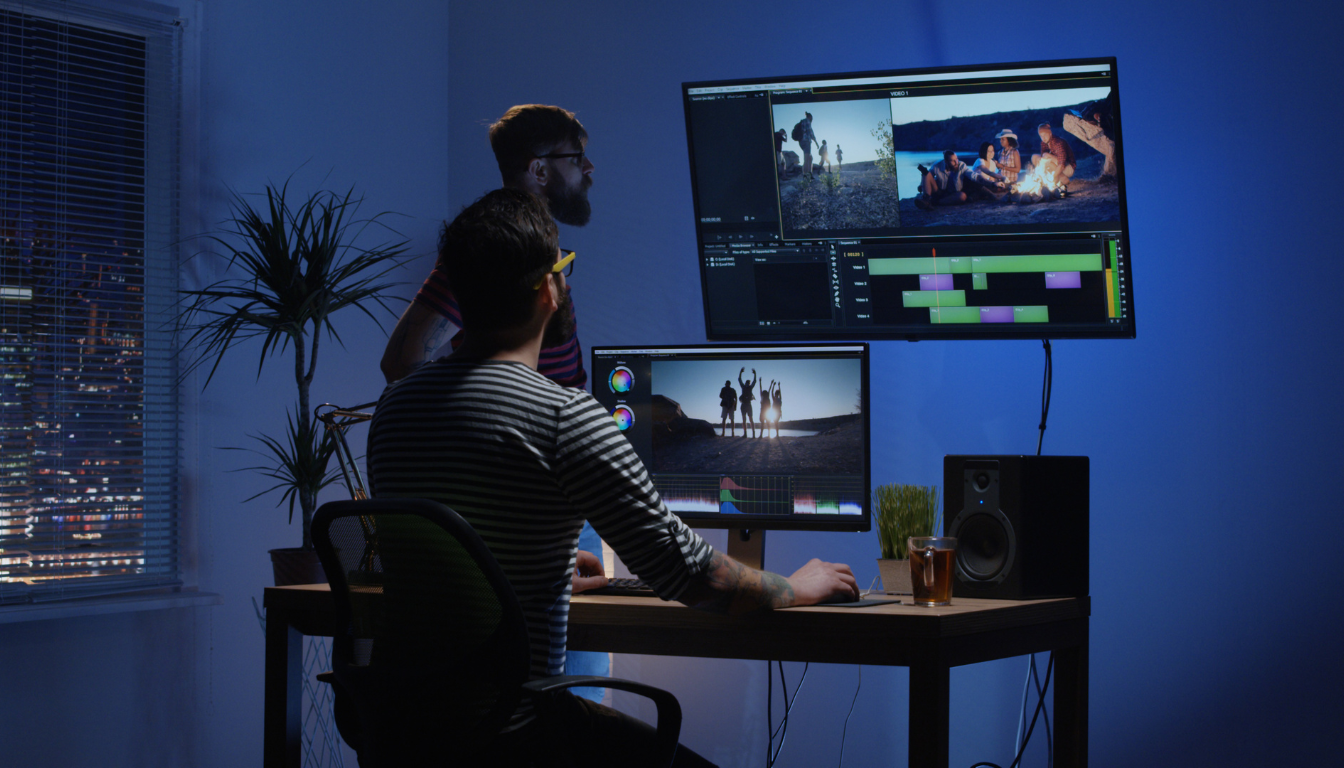
4. Master Basic Color Correction
Have you ever watched a video that just looks dull or too dark? Basic color correction can instantly make your footage look professional.
Simple adjustments:
-
Brightness/Exposure: Make sure your video isn’t too dark.
-
Contrast: Add some depth between the light and dark areas.
-
Saturation: Slightly boost colors without overdoing it.
Important:
Don’t turn your video into a neon mess. The goal is natural, vibrant colors — not an acid trip.
Tools for easy color correction:
-
Adobe Premiere Pro
-
DaVinci Resolve (there’s a great free version!)
-
CapCut (mobile)
5. Balance Your Audio
Bad audio will ruin even the most beautiful videos.
Here’s what to focus on:
-
Normalize the audio levels (keep them consistent).
-
Remove background noise if possible.
-
Lower your background music during speaking parts.
Quick Tip:
Always wear headphones when editing audio — you’ll catch small issues you might miss on speakers.
Tools for cleaning audio:
-
Audacity (free)
-
Premiere Pro’s Essential Sound Panel
-
Descript (great for beginners)
6. Add Text and Captions Thoughtfully
Captions and text overlays aren’t just for aesthetic — they help convey information clearly, especially for viewers watching without sound.
Best practices:
-
Use simple, clean fonts like Montserrat, Lato, or Roboto.
-
Keep text large enough to read on a phone screen.
-
Use contrasting colors so text stands out against the background.
Pro Tip:
Animated text effects (like pop-ins or slide-ins) can add polish without overwhelming your video.
7. Use Music to Set the Mood
Music is powerful. It can turn a bland video into an emotional journey.
Choosing the right music:
-
Upbeat music for tutorials, travel, or vlogs.
-
Soft background tunes for interviews or storytelling.
-
Dramatic scores for cinematic videos or trailers.
Royalty-free music sources:
-
YouTube Audio Library (free)
-
Epidemic Sound (paid, but amazing quality)
-
Artlist (great for serious creators)
Quick Tip:
Keep music volume low — around 20-30% — when someone is talking.
8. Export Settings Matter
Imagine spending hours editing a beautiful video only to upload a pixelated mess. Export settings are key!
Basic export settings for most platforms:
-
Resolution: 1080p (1920×1080) is the sweet spot.
-
Format: MP4 is a safe, universal choice.
-
Bitrate: Adjust based on platform recommendations — YouTube suggests around 8 Mbps for 1080p.
If you’re editing specifically for Instagram Reels, TikTok, or YouTube Shorts, also consider exporting in a vertical format (9:16 aspect ratio).
9. Bonus Tip: Save Your Editing Presets
Once you find color settings, text styles, or transitions you love, save them as presets in your editing software.
Why it matters:
-
Speeds up your editing workflow.
-
Keeps your brand or style consistent.
-
Saves tons of repetitive work over time.
Example:
Create a “YouTube intro” preset with your logo animation, color settings, and music — then use it every time you upload.
For the best video editing service Click Here
Conclusion
You don’t need expensive gear or years of experience to edit great videos. Often, it’s these simple tricks — trimming, smooth transitions, color correction, balanced audio, thoughtful text, and music — that make a huge difference.
Start small. Try applying one or two tips on your next video project. Over time, these techniques will become second nature, and your videos will start to look more professional, polished, and engaging.
Now it’s your turn!
Which editing trick are you going to try first? Let me know in the comments — and feel free to share a link to your latest creation!
FAQs
1. What is the easiest video editing software for beginners?
Some of the easiest options are iMovie (Mac), CapCut (mobile and desktop), and Clipchamp (Windows). They offer user-friendly interfaces and basic editing features perfect for getting started.
2. How important is video editing for social media content?
Very important! Good editing makes your videos more engaging, keeps people watching longer, and can even boost your reach through better retention and shares.
3. Can I edit videos professionally using free software?
Absolutely! Programs like DaVinci Resolve, HitFilm Express, and CapCut offer powerful features at no cost. With practice, you can create professional-quality videos without spending a dime.
4. What is the difference between color correction and color grading?
-
Color correction fixes mistakes (like making sure whites look white and skin tones look natural).
-
Color grading gives your video a specific style or mood (like making a sunset scene look extra warm and dreamy).
5. How can I make my videos look more professional?
Focus on clean cuts, consistent color, balanced audio, and simple transitions. Adding captions, picking the right music, and maintaining good pacing also make a big difference.
6. Should I always add music to my videos?
Not always. Use music when it enhances the story or mood, but don’t add it just for the sake of it. Sometimes silence or natural sound is more powerful, especially for emotional or serious content.
7. What’s the best transition to use between clips?
A simple cross dissolve or fade usually works best. Subtle transitions feel smooth and professional, while flashy effects can sometimes distract from your message.
8. How long should my video be?
It depends on your platform:
-
YouTube tutorials: 6–12 minutes
-
Instagram Reels/TikTok: 15–60 seconds
-
Promotional videos: 1–2 minutes Always focus on value over length — keep your content tight and engaging.
9. How can I fix shaky footage during editing?
Many editing programs have a built-in stabilization tool. Premiere Pro, Final Cut Pro, and DaVinci Resolve allow you to apply stabilization effects that smooth out shaky shots.
10. How much time should I spend editing a simple video?
It varies, but a basic 3–5 minute video could take anywhere from 1 to 3 hours to edit depending on how polished you want it to be. As you gain experience and use templates/presets, editing will get much faster!